My Skeleton Project
My Skeleton Project
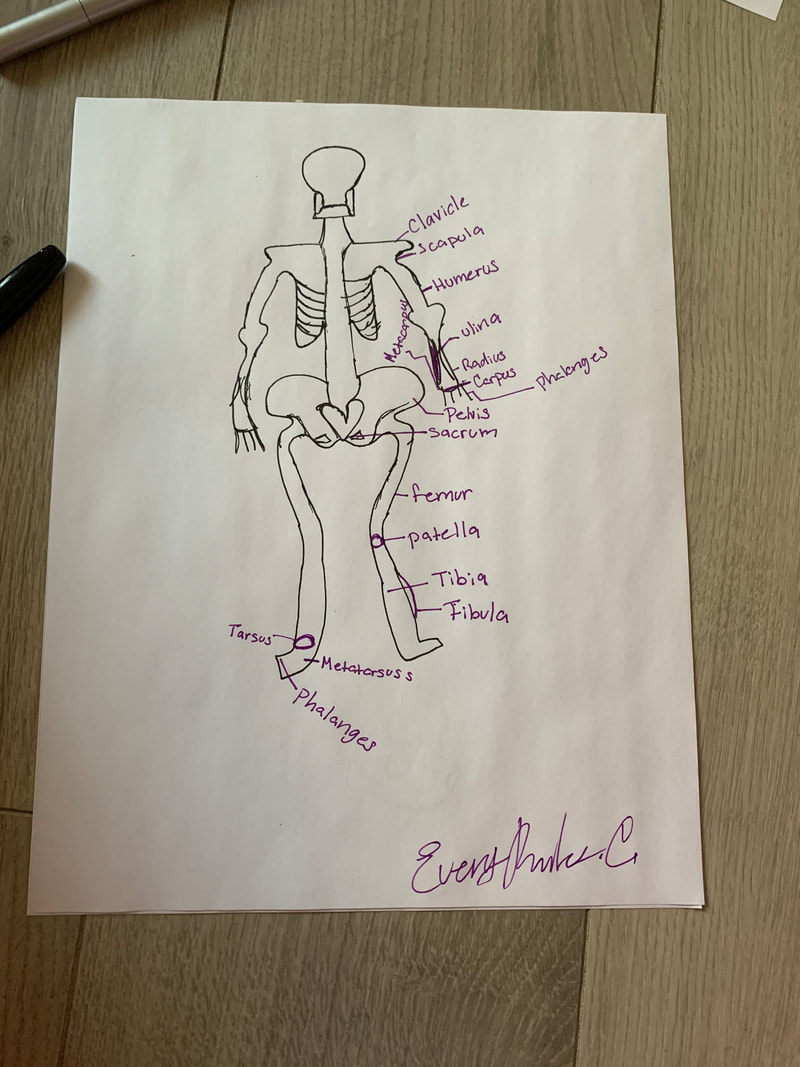
I have chosen the Human Appendicular Skeleton. I chose this skeletal system because it has all the body parts labeled. The Appendicular showcases all the leg and arm bones. It has all the arm bones labeled and it also has all the leg bones labeled. It's the correct skeletal system to use in the project.
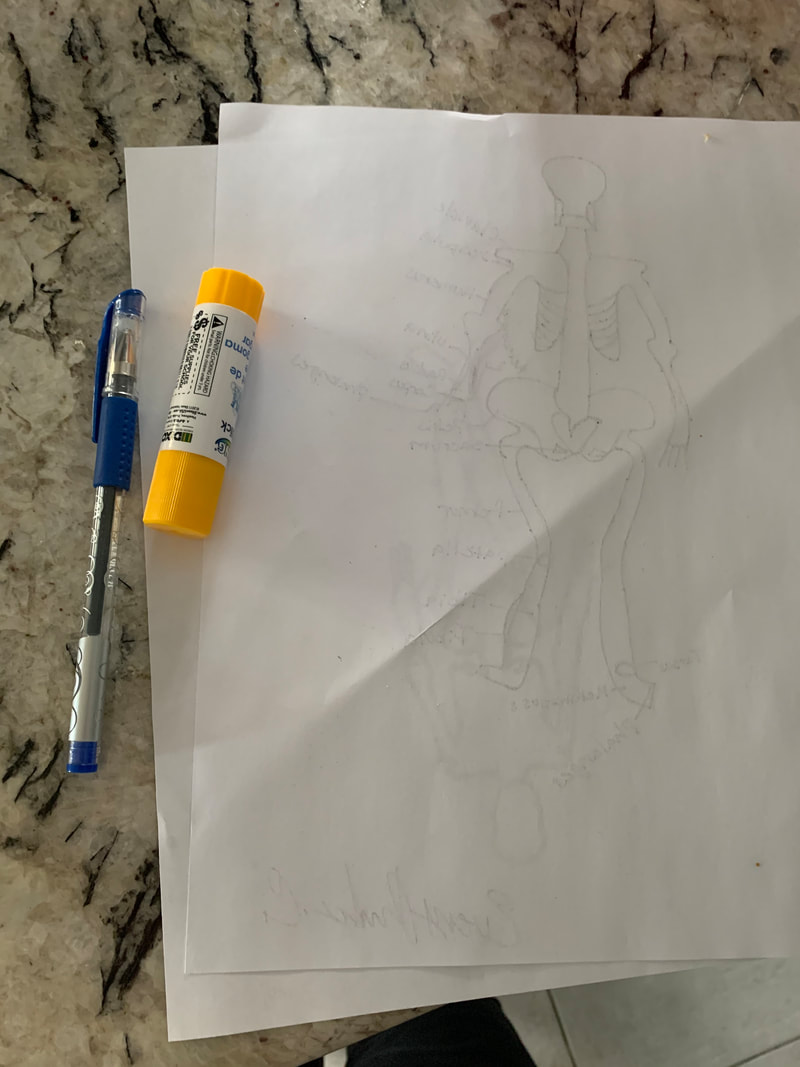
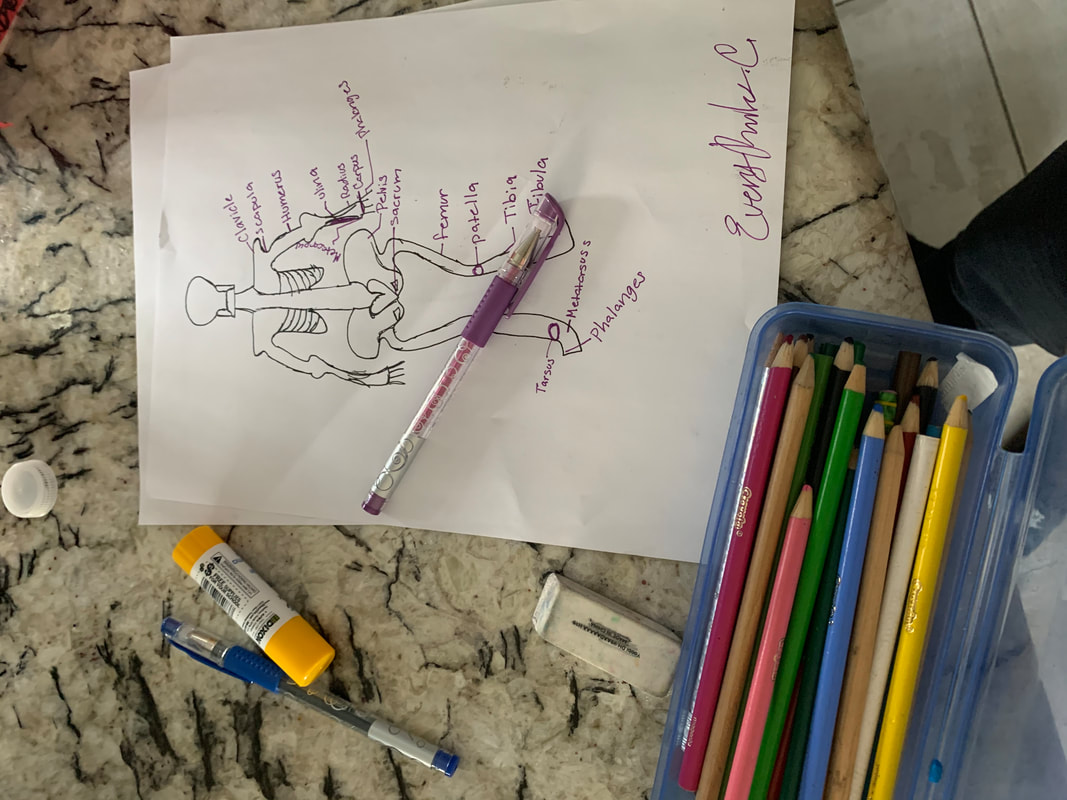
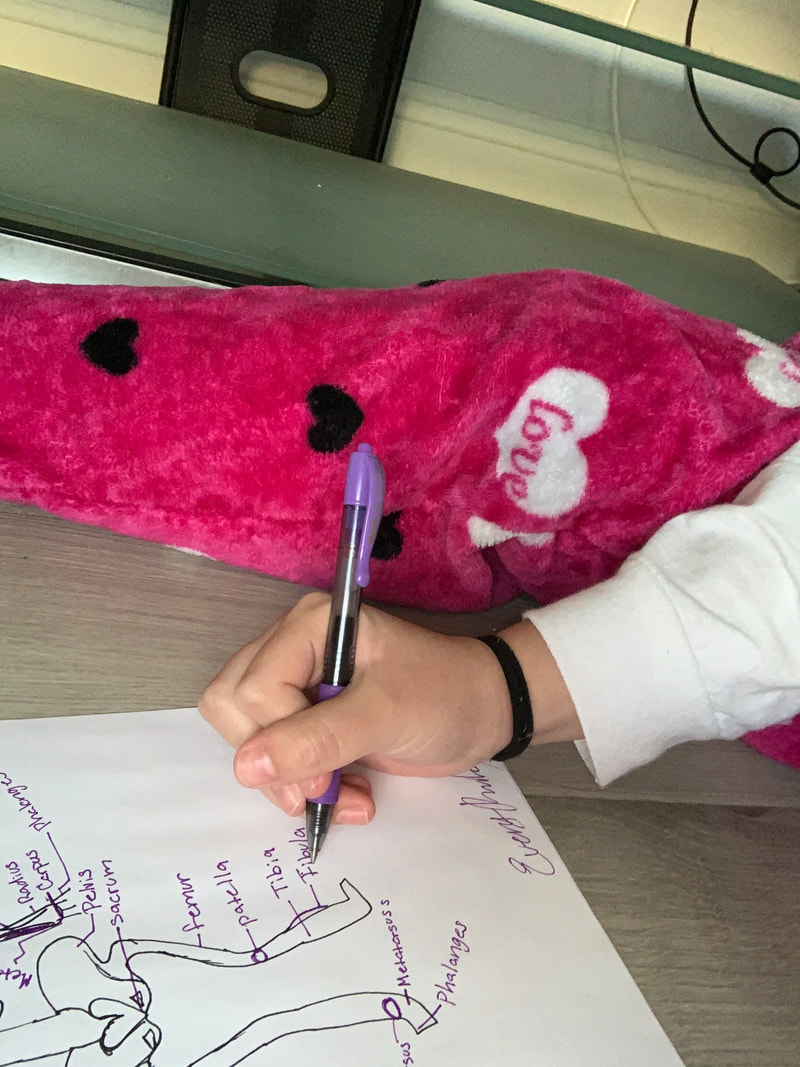
To start off the project I used google to better identify myself with the different types of skeletal systems. Then I googled a picture reference of the Appendicular system. After I got my reference photo I began to sketch out my skeleton. I will be using paper, a pencil, and markers. I will also be using a scissor and a glue stick to make the labels. The First step to make the skeleton was to gather all the materials that I need to create the skeleton. The Second step was to begin to sketch the skeleton. The third step was to then outline the sketch with a sharpie. The Fourth step was to begin to color code the labels. The Fifth step was to begin to glue the labels to it’s corresponding bone. The Sixth step was to look over my work to make sure everything was in the correct order. The Final step was to submit my work.
My overall experience making the skeleton was pretty good. The only difficult part was drawing the skeleton. I needed to make it look like an actual skeleton and that’s kind of hard when you’re not the best artist. But it came out pretty good. It’s important to know the names of your bones because you never know when you are going to need to name a specific bone. Also, if you were to break a bone, and you know the name of which bone you broke you could point it out.
I have chosen the Human Appendicular Skeleton. I chose this skeletal system because it has all the body parts labeled. The Appendicular showcases all the leg and arm bones. It has all the arm bones labeled and it also has all the leg bones labeled. It's the correct skeletal system to use in the project.
To start off the project I used google to better identify myself with the different types of skeletal systems. Then I googled a picture reference of the Appendicular system. After I got my reference photo I began to sketch out my skeleton. I will be using paper, a pencil, and markers. I will also be using a scissor and a glue stick to make the labels. The First step to make the skeleton was to gather all the materials that I need to create the skeleton. The Second step was to begin to sketch the skeleton. The third step was to then outline the sketch with a sharpie. The Fourth step was to begin to color code the labels. The Fifth step was to begin to glue the labels to it’s corresponding bone. The Sixth step was to look over my work to make sure everything was in the correct order. The Final step was to submit my work.
My overall experience making the skeleton was pretty good. The only difficult part was drawing the skeleton. I needed to make it look like an actual skeleton and that’s kind of hard when you’re not the best artist. But it came out pretty good. It’s important to know the names of your bones because you never know when you are going to need to name a specific bone. Also, if you were to break a bone, and you know the name of which bone you broke you could point it out.

|
|

|
|
My WorkThese are images of me working on my project
|
|

My Equipment
|
Edit this text to make it your own. To edit, simply click directly on the text to start adding your own words. You can move the text by dragging and dropping the text anywhere on the page.
|
Nikon DSLR 200SA
Canon Rebel DSLR
250MM Canon Lens
50MM Nikon Lens
5000 Lumen Back Lighting
Canon Rebel DSLR
250MM Canon Lens
50MM Nikon Lens
5000 Lumen Back Lighting
